Start here
Quick start
Set up your AI assistant, test it, and launch it from EBI's AI Studio.
Outcome
By the end of this guide you will have:
- Added training information (website and/or documents)
- Created or refined a few key flows
- Tested in preview
- Published changes
- Launched your AI assistant on your website using Web Messenger
Prerequisites
- You can sign in to EBI's AI Studio
- You have a website URL and/or documents you trust (optional but recommended)
- You have permission to edit flows and settings in your organisation
If you have not created your account yet, follow First-run setup first.
Steps
1) Add training information (recommended)
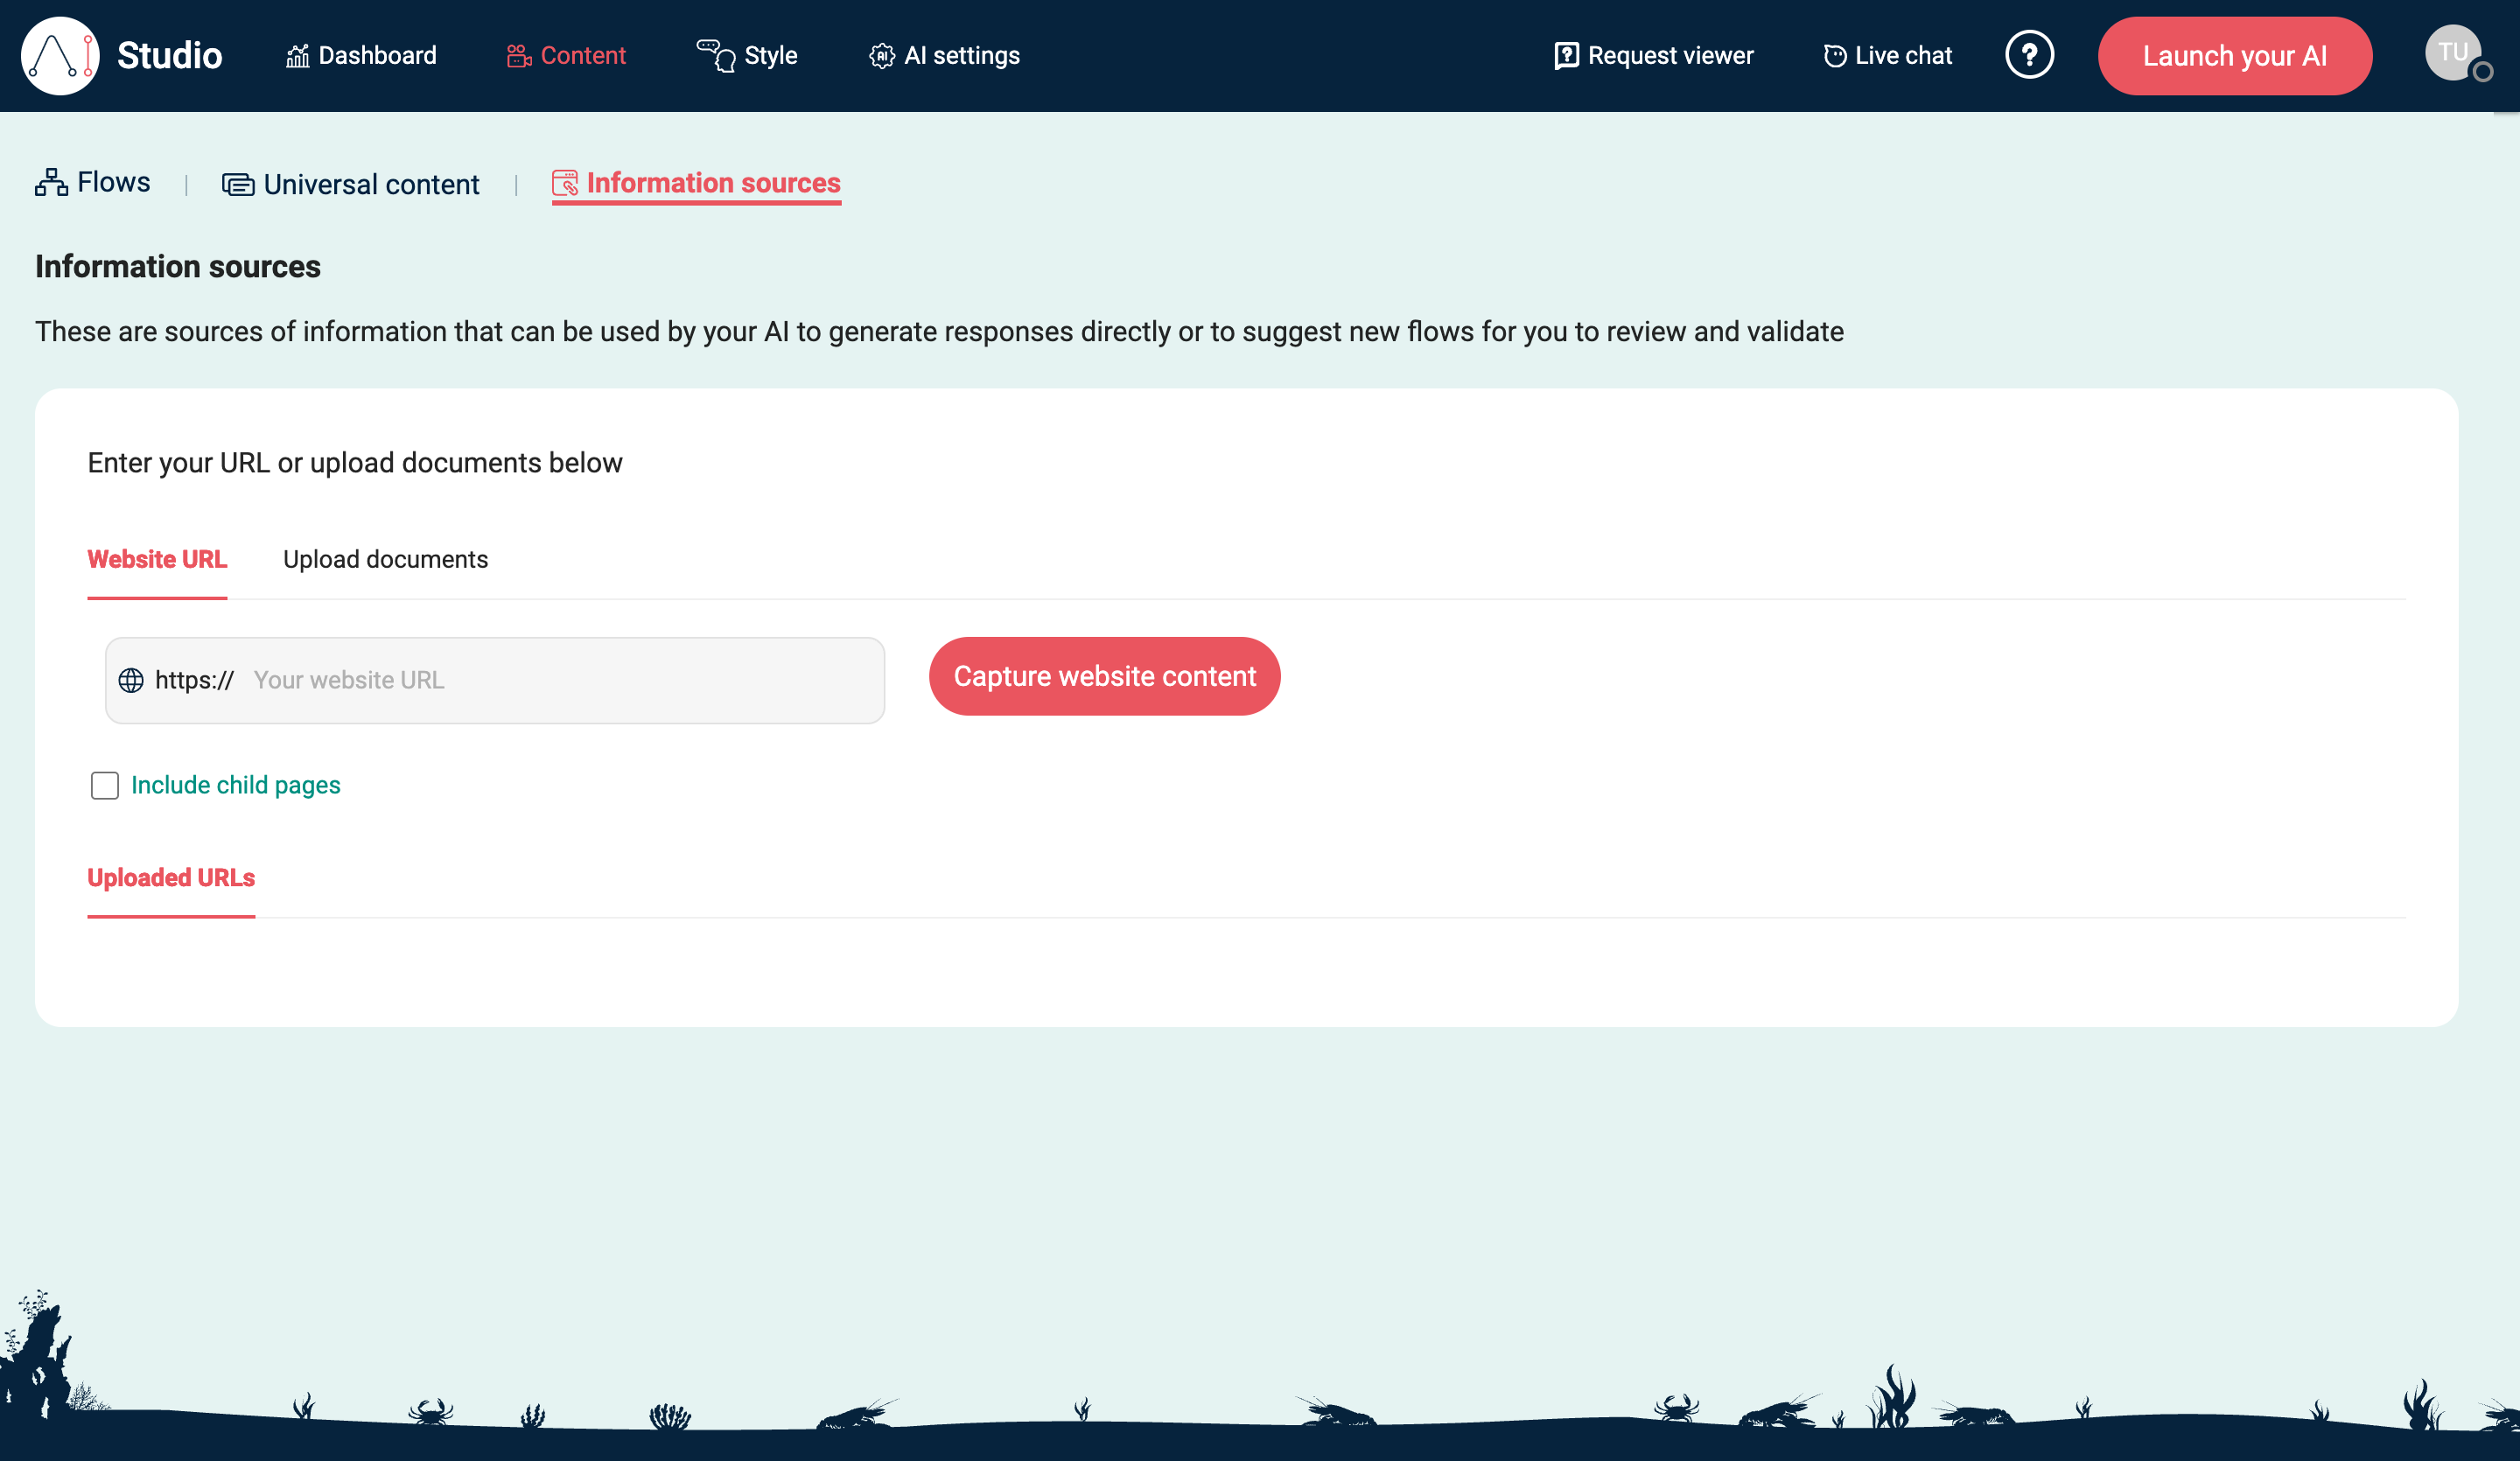
- In the top navigation, select Content.
- Select Information sources.
- Under Website URL, enter your site into Your website URL.
- (Optional) Select Include child pages.
- Select Capture website content.
- (Optional) Select Upload documents and upload trusted files using Drop your file(s) here or browse Max file size: 100 MB each.
2) Create or refine key flows
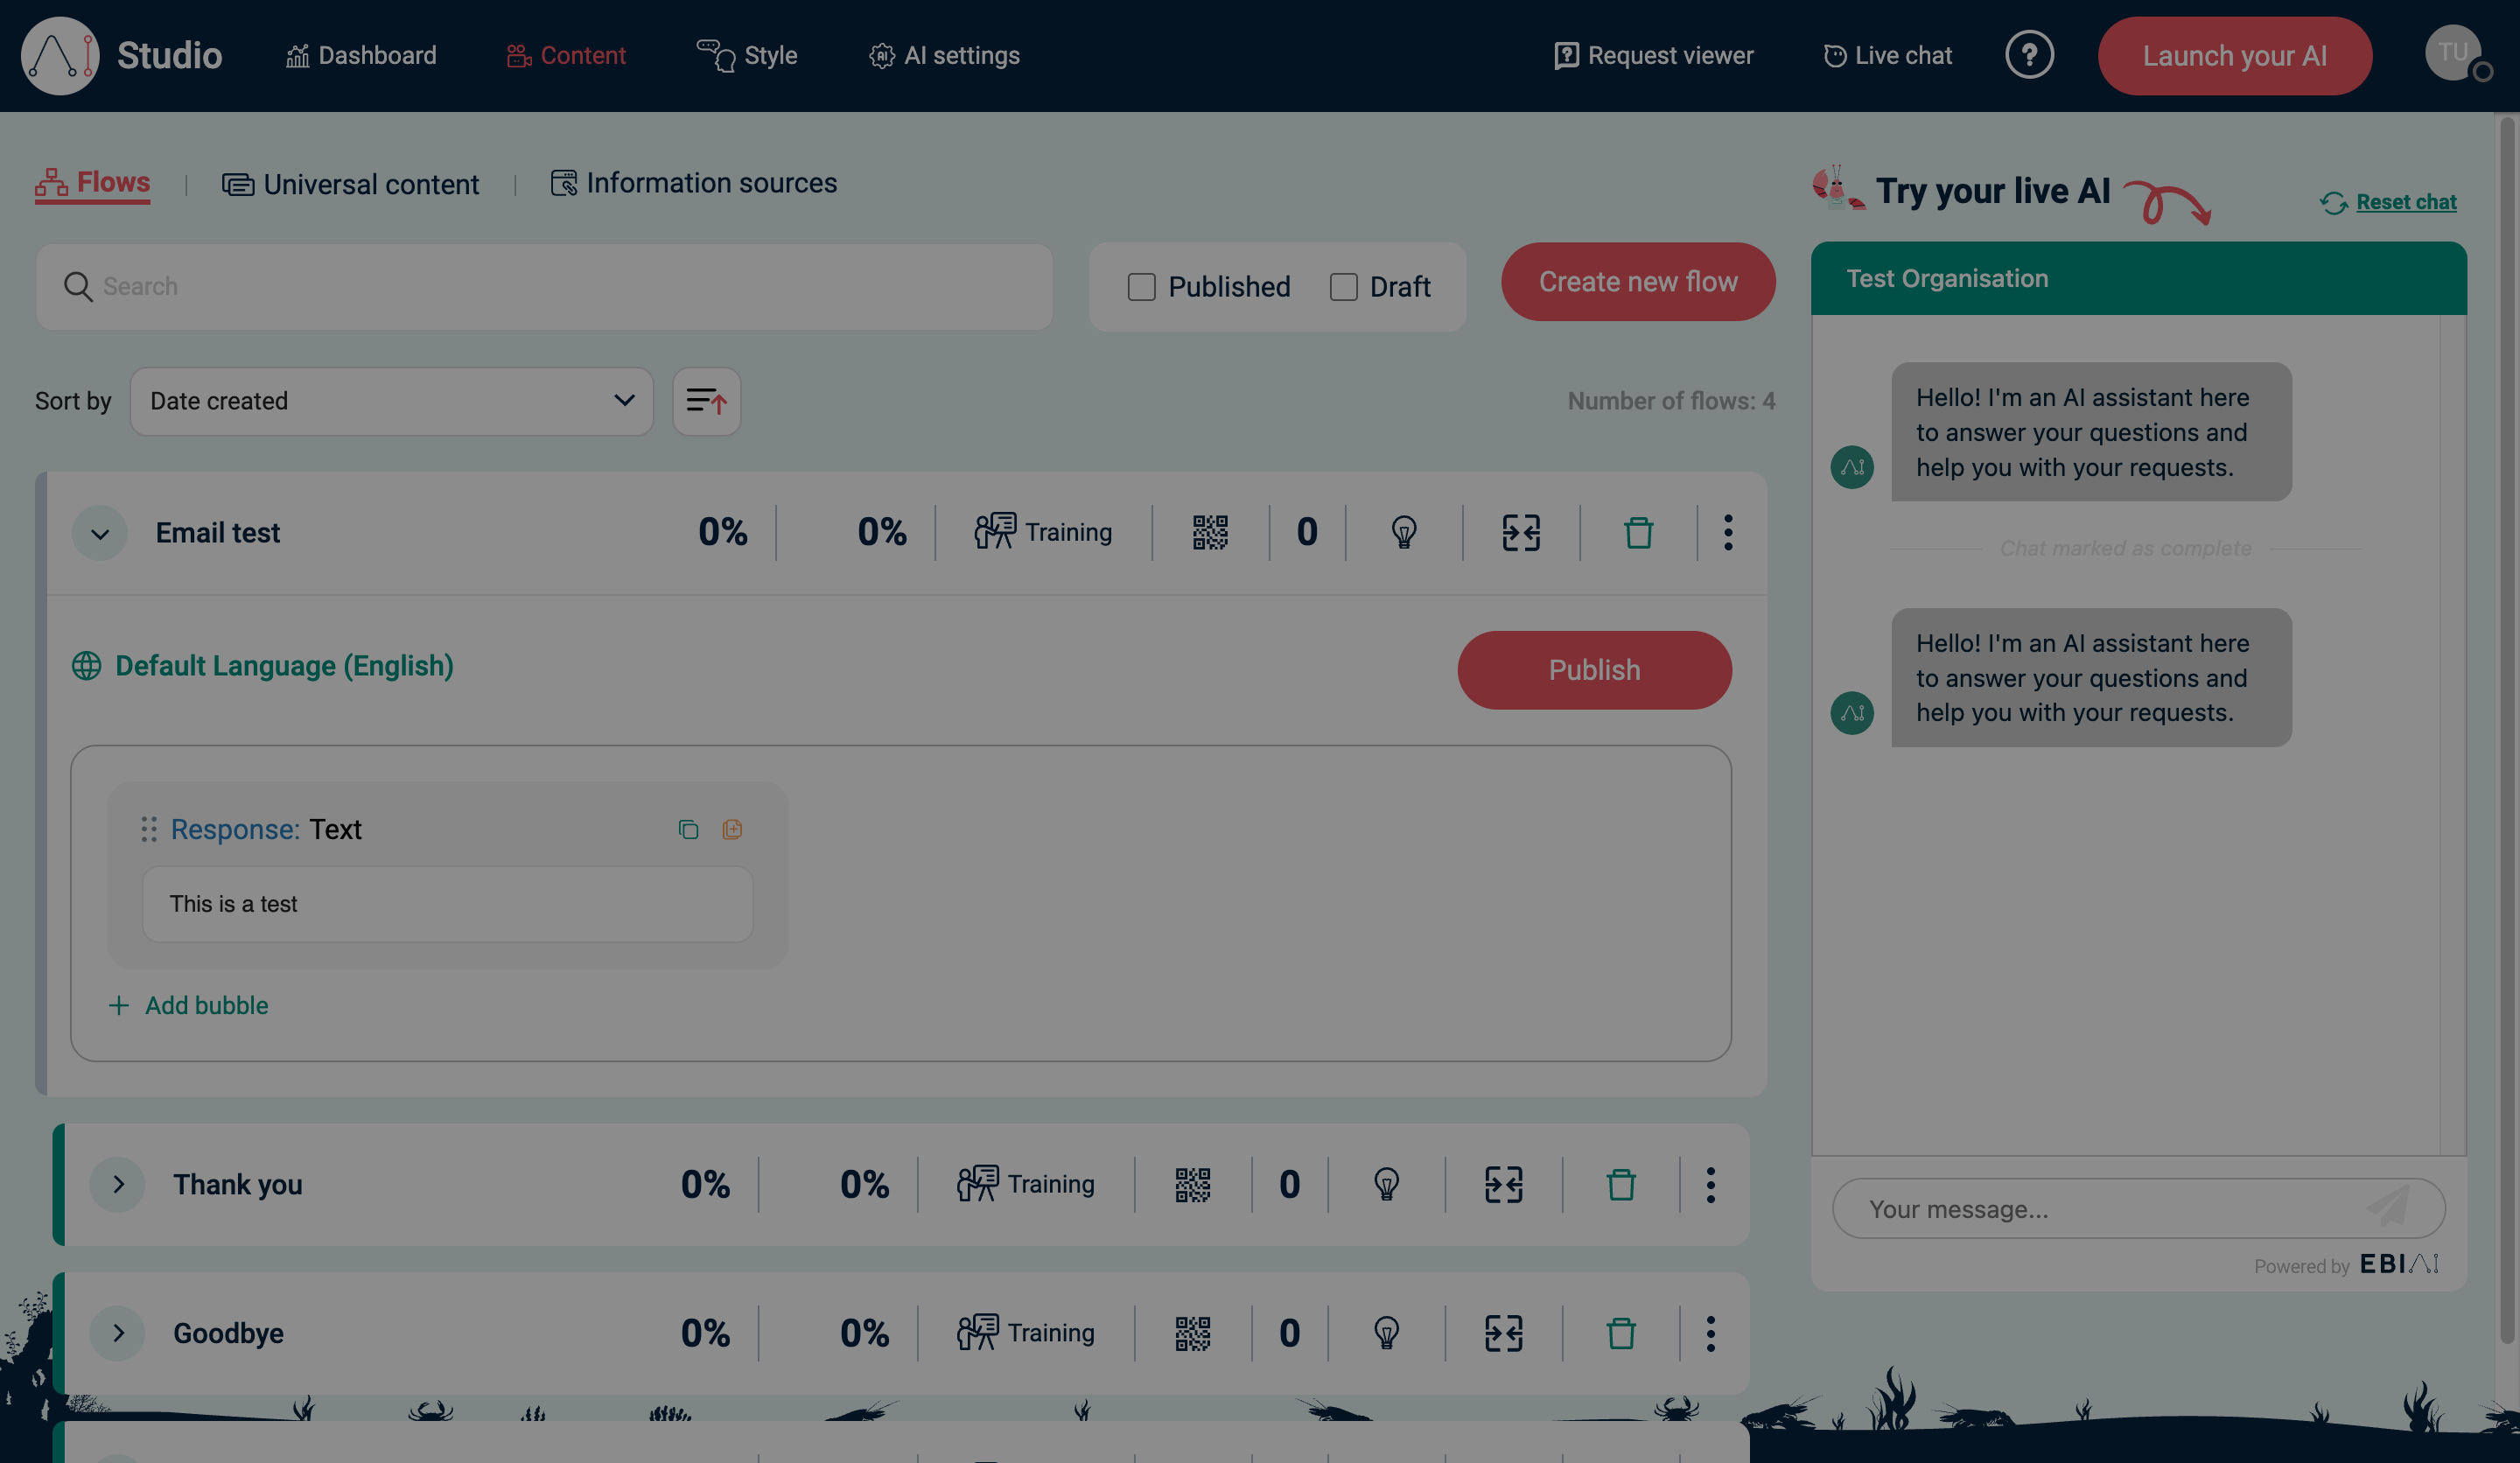
- Go back to Content.
- Select Flows.
- Select Create new flow to add a missing FAQ or task.
- In Create new flow, choose Create flow from scratch, then select Next.
- Use Add bubble to add the response, question, or handover steps the flow needs.
- Select an existing flow and edit the response so it matches your real process and policies.
Use Import flow only when you already have a flow file to upload.
3) Style and allowed domains
- In the top navigation, select Style.
- (Optional) Under Restrict to your domains (optional), add the domains where your AI assistant will be embedded.
- Select Save and publish.
4) Test in preview
- In the top navigation, select Content.
- Select Flows.
- In Try your live AI, ask 10–20 realistic questions (including edge cases).
- Iterate on flows and information sources until answers are accurate.
5) Publish
- In Content → Flows, select Publish.
- In Style, select Save and publish if you changed any styling or allowed domains.
6) Launch on your website
- Select Launch your AI.
- In Code for your AI assistant, choose the method that matches your website (for example, AI assistant code).
- Copy the snippet and add it to your website.
Verify
- Open your website (incognito/private window recommended).
- Confirm the Web Messenger loads.
- Ask 3–5 of your top questions and confirm you get the expected answers.
- In Request viewer, confirm you can see the requests coming through.
Common issues
- Web Messenger doesn’t show on your site: check Restrict to your domains (optional) in Style, then select Save and publish.
- Capture website content fails: try again with Include child pages off, or upload documents instead.
- Answers are wrong or inconsistent: tighten the flow response, or upload a better source document under Information sources.