Web Messenger
Embed your AI assistant on your website from EBI's AI Studio.
Outcome
By the end of this guide you will know which Launch your AI option to use and how to install Web Messenger on your website.
Prerequisites
- You can sign in to EBI's AI Studio
- You have published your flows (recommended)
- You can edit your website's HTML, theme, tags, or page templates, or you have an engineering contact who can do it
Steps
1. Open the launch modal
- In the top navigation, select Launch your AI.
- In Code for your AI assistant, choose the option that matches your website:
- AI assistant code
- Squarespace site
- Wordpress site
- Shopify site
- HTML website with Google Tag Manager
- QR code
Do not share the generated code snippet publicly. It includes values that identify your assistant setup.

2. Choose the right launch option
| Option | Use it when |
|---|---|
| AI assistant code | You or an engineer can paste a code snippet into the website HTML. |
| Squarespace site | Your website is managed in Squarespace. |
| Wordpress site | Your website is managed in WordPress. This tab can use the Use our WordPress plugin option or a manual theme edit. |
| Shopify site | Your website is managed in Shopify and you want the assistant on a specific page. |
| HTML website with Google Tag Manager | Your website uses Google Tag Manager and you want to deploy the assistant as a tag. |
| QR code | You want users to open the assistant from a scannable code instead of embedding it on a website page. |
3. Install with AI assistant code
Use AI assistant code when you can add the generated snippet to your website template.
- Select AI assistant code.
- Select the copy icon inside the code block.
- Paste it into the HTML of the page where Web Messenger should appear.
- If possible, place it just before the closing
</body>tag. - Save or publish the website change.
4. Install on Squarespace
Use Squarespace site when the site is managed in Squarespace.
- Select Squarespace site.
- Select the copy icon inside the code block. The step heading says Copy the code snippet to your clipboard.
- In Squarespace, open Settings.
- Open Advanced.
- Open Code injection.
- Paste the snippet into the header area.
- Save the Squarespace change.
- Open the website and confirm Web Messenger appears.
5. Install on WordPress
Use Wordpress site when the site is managed in WordPress.
Recommended option:
- Select Wordpress site.
- Under Use our WordPress plugin, select View plugin.
- Install and configure the plugin from WordPress.
- Open the website and confirm Web Messenger appears.
Manual option:
- Select Wordpress site.
- Select the copy icon inside the code block. The step heading says Copy the code snippet to your clipboard.
- In WordPress, open Appearance.
- Open Theme file editor.
- Paste the snippet into the appropriate theme file.
- Select update or save for that file.
- Open the website and confirm Web Messenger appears.
Only edit theme files if you are comfortable maintaining WordPress theme changes. A plugin or tag manager is usually safer for non-developers.
6. Install on Shopify
Use Shopify site when the assistant should appear on a Shopify page.
- Select Shopify site.
- Select the copy icon inside the code block. The step heading says Copy the code snippet to your clipboard.
- In Shopify, open Pages.
- Select the page where Web Messenger should appear.
- Switch to HTML view with the HTML button in the editor.
- Paste the snippet.
- Save the page.
- Open the page and confirm Web Messenger appears.
7. Install with Google Tag Manager
Use HTML website with Google Tag Manager when your website is already managed through Google Tag Manager.
- Select HTML website with Google Tag Manager.
- Select the copy icon inside the code block. The step heading says Copy the code snippet to your clipboard.
- In Google Tag Manager, open Tags.
- Select New.
- Select Tag Configuration.
- Choose Custom HTML.
- Paste the snippet into the HTML box.
- In Triggering, choose All Pages with the type Page view.
- Select Submit.
- Name and publish the tag.
- Open the website and confirm Web Messenger appears.
8. Use the QR code
Use QR code when users should scan a code to open the assistant directly.
- Select QR code.
- In Download your QR code, select the download icon.
- Add the QR code to the approved physical or digital material.
- Scan the QR code with a phone.
- Confirm the assistant opens and starts the expected experience.
Do not publish a QR code until you have tested it from a phone that is not signed in to EBI's AI Studio.
9. Send instructions to someone else
Use Send instructions via email when an engineer or website owner will install Web Messenger for you.
- Select the launch option that matches the website.
- Select Send instructions via email.
- In Send instruction via email, enter the recipient's email address.
- To add more than one recipient, enter an address and press Enter after each one.
- Check the recipient list.
- Select Submit.
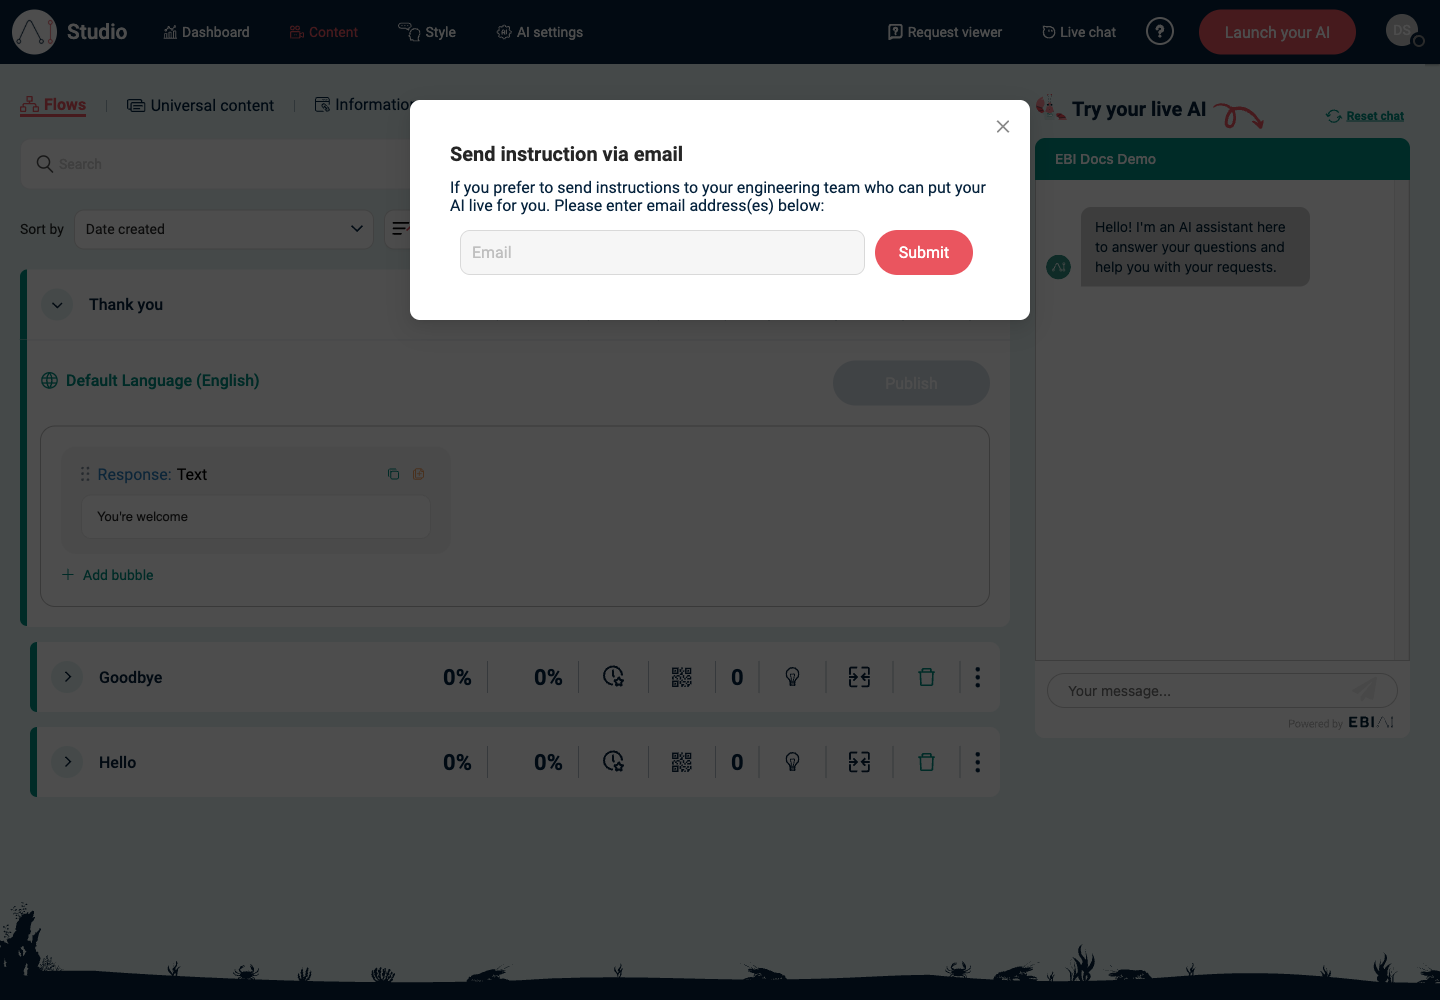
Submit opens your email client with a prefilled email. EBI's AI Studio does not send the email directly. Check the recipients and message in your email client before sending.
10. Restrict allowed domains
If you want to stop the widget loading on unexpected sites:
- In the top navigation, select Style.
- Under Restrict to your domains (optional), add your domain(s).
- Select Save and publish.
Verify
- Open your website (incognito/private window recommended).
- Confirm Web Messenger loads.
- Ask 3-5 common questions and confirm you get the expected responses.
- If you used Google Tag Manager, confirm the tag has been published, not only saved as a draft.
- If you used QR code, scan it from a phone and confirm the assistant opens.
Common issues
- Web Messenger doesn't show: confirm your domain is added under Restrict to your domains (optional) and you selected Save and publish.
- It shows on the wrong site: add allowed domains and remove any incorrect ones, then Save and publish.
- It loads but answers are wrong: publish updated flows and/or add sources in Information sources.
- The Google Tag Manager change does not appear: confirm you selected Submit and published the container.
- The WordPress manual change disappears after a theme update: use the WordPress plugin or ask your website owner to add the snippet in a safer location.
- The QR code opens the wrong assistant: download a fresh QR code from the correct account and test it before printing or sharing it.
- You cannot find a copy button: use the copy icon inside the code block. Copy the code snippet to your clipboard is the step heading, not a separate text button.
- The email did not send: after Submit, check your email client. EBI's AI Studio prepares the email, but you still need to send it from your email account.